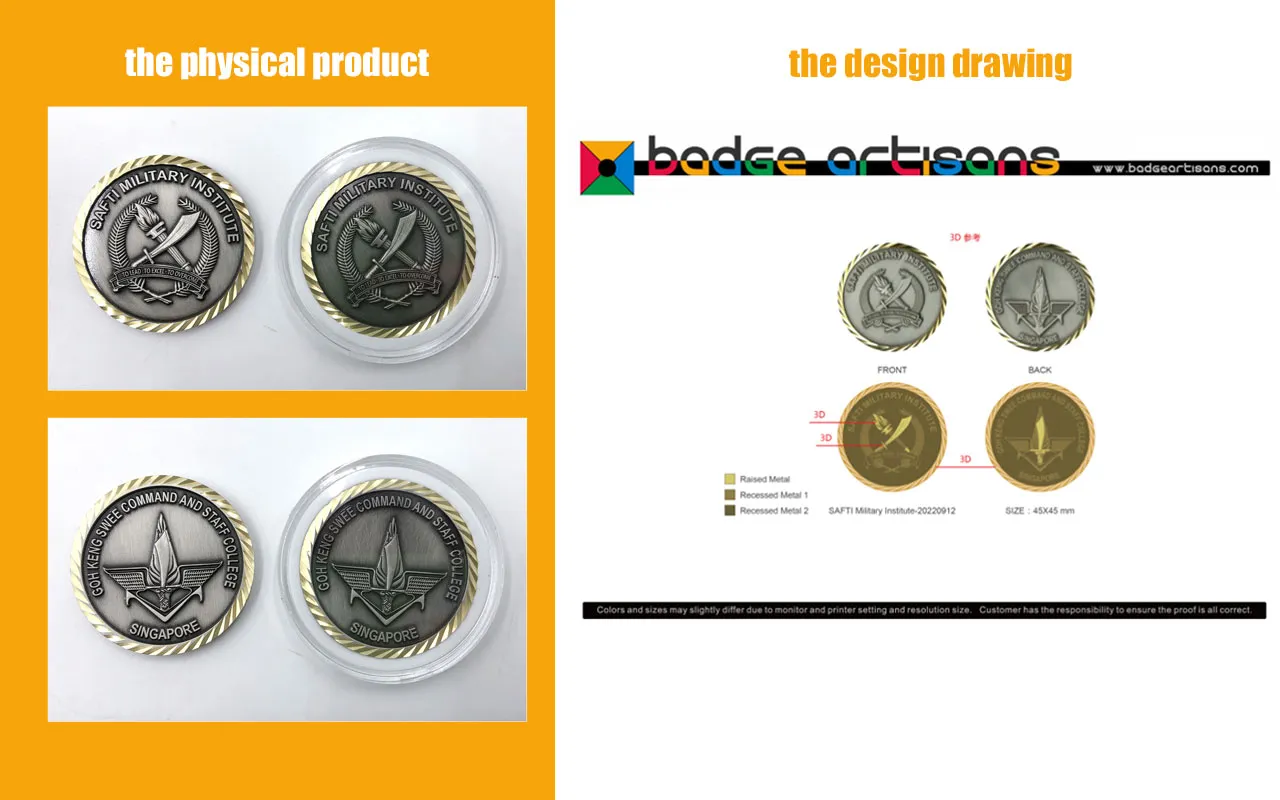


Die-Casting Craftwork: Runner & Burr Removal Process
Runner Removal
Purpose: To remove unnecessary runner burrs from the product, facilitating subsequent polishing operations.
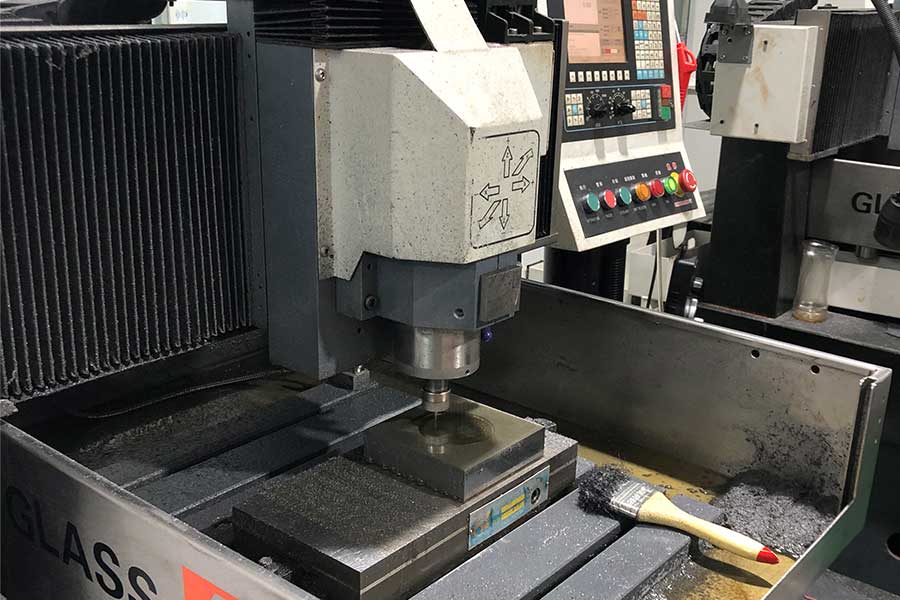
Working Principle: After the product is formed by the die-casting machine, on-site operators manually separate the product from the runner. For products with difficult-to-remove runners, auxiliary tools such as pliers are used.

runner burr removal process
Auxiliary Tools for Runner/Burr Removal
A. File
Used for simple grinding of holes that cannot be reached by polishing.
B. Pliers
Applied to assist in removing runners that are difficult to separate manually.
C. Wire Brush
Used for brushing off burrs.

runner burr removal process auxiliary tools
1. Process Overview
The runner and burr removal process in craftwork manufacturing aims to eliminate casting residues, ensuring surface smoothness for subsequent finishing (e.g., plating, painting). This critical step combines manual precision and tool-assisted operations to maintain design integrity.
2. Core Process Steps
2.1 Initial Inspection & Sorting
– Operation:
Operators inspect die-cast blanks to classify runner complexity:
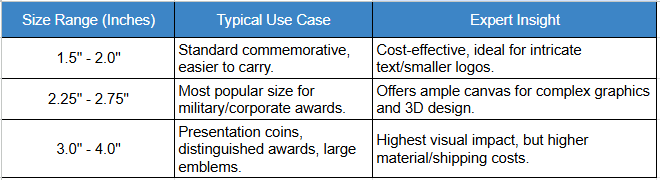
– Type A: Simple runners (thickness ≤1.5mm, straight geometry)
– Type B: Complex runners (thickness >1.5mm, curved/branched structures)
– Tool Preparation:
Prepare pliers, files, and wire brushes based on classification.
2.2 Runner Separation
– Manual Dismantling:
– For Type A runners: Use hand pressure to snap runners off along the parting line.
– Technical Note: Apply force perpendicular to the runner to avoid deforming the craftwork.
– Tool-Assisted Removal:
– For Type B runners: Use side-cutting pliers to trim runners near the gate, leaving a 0.2-0.5mm stub for subsequent grinding.
– Equipment Example: Bent-nose pliers with hardened jaws (model: KNIPEX 74 02 160).
2.3 Burr Deburring
– Hole Deburring:
– Use needle files (ISO 3685, fine grade) for internal holes ≤10mm, following the contour to prevent over-grinding.
– Surface Burr Removal:
– Employ wire brushes (stainless steel, 0.2mm bristle diameter) for large-area burrs, moving in the direction of metal flow.
– Precision Areas:
– For intricate details (e.g., filigree patterns), use scalpel blades (No. 11 surgical blade) for controlled burr trimming.
2.4 Secondary Inspection & Touch-Up
– Inspection Standards:
– Visual inspection under 10x magnification for residual burrs >0.05mm.
– Use feeler gauges to check stub thickness (max. allowable: 0.3mm).
– Correction:
– Polish minor residues with 600-grit sandpaper, followed by 1000-grit for matte-finish crafts.
3. Technical Parameters & Tools
| Process Stage | Suitable Craft Type | Recommended Tools | Operation Parameters | Quality Control Points |
|---|---|---|---|---|
| Simple Runner Separation | Thin-walled ornaments (wall thickness <2mm) | Plastic-handle runner pliers | Clamping force: 8-12N | Edge chipping ≤0.1mm |
| Complex Runner Trimming | Relief ornaments (runner thickness 3-5mm) | Hydraulic shears | Cutting speed: 5-10mm/s | Cut surface roughness Ra≤12.5μm |
| Internal Hole Deburring | Hollow crafts (hole diameter 3-8mm) | Tapered diamond file | Rotation speed: 100-150rpm | Hole wall tolerance ≤±0.02mm |
| Surface Finishing | Mirror-plated gifts | Nylon wheel polisher | Rotation speed: 2000-3000rpm | Surface gloss ≥85GU |
eability (ISO 9001:2015 compliant).