
MATERIALS & FINISHES
Custom Metal Gift Materials and Finishes: Plating, Enamel and Printing
We work with a wide range of metals, PVC and acrylic to create high-quality custom promotional gifts, lapel pins, challenge coins, medals, keychains and more.From plating and enamel filling to non-metal coatings, printing and laser engraving, we offer a full finishing stack under one roof.The right combination of materials and finishes brings your design to life, improves durability and helps your custom gifts make a lasting impression.
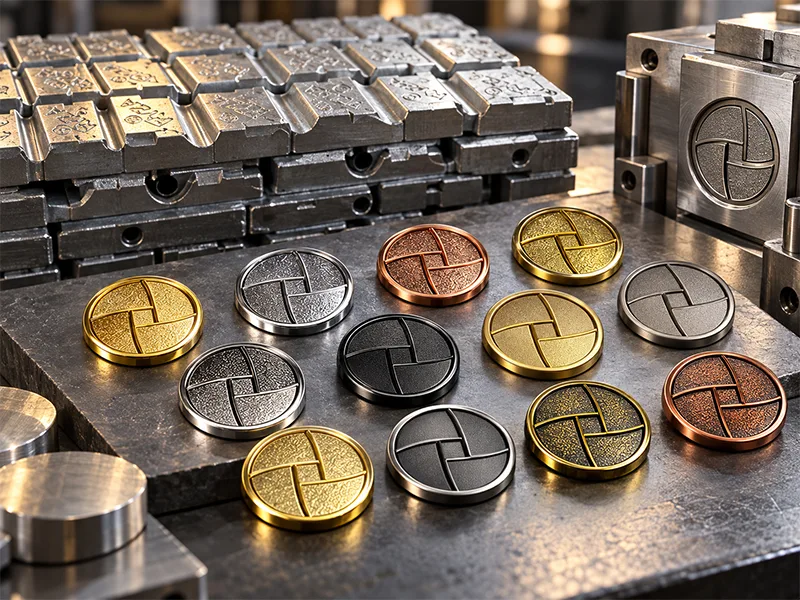
MATERIALS
Materials: Metals, PVC and Acrylic
We use a variety of metals and non-metal materials to suit different budgets, functions and design styles. Each material has its own characteristics in weight, strength, finish and typical applications.
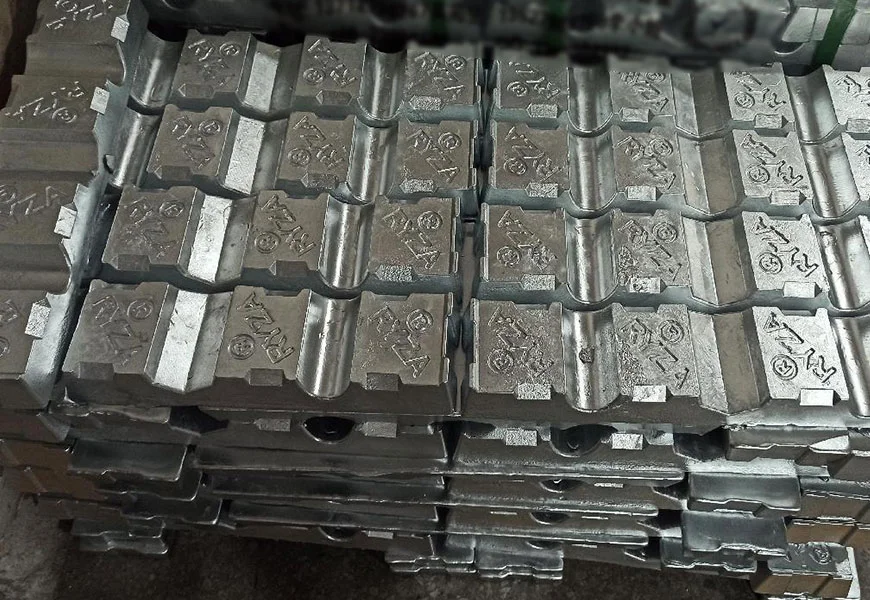
Table 1: Main metals
|
Metal |
Density |
Native color |
Forming |
Products we run on it |
Why buyers pick it |
|
Zinc alloy (Zamak 3) |
6.7 g/cm³ |
Off-white grey |
Die casting |
Lapel pins, challenge coins, badges, keychains, bottle openers |
Strongest 3D relief and cut-out detail; does not rust; wall thickness 2mm and up; mold cost higher than stamping |
|
Brass |
8.9 g/cm³ |
Yellow gold |
Stamping and cutting |
Challenge coins, medals, belt buckles, bookmarks |
Densest of the four and the fewest pinholes; takes a bitten edge; over 3mm needs two pressings and costs more |
|
Iron |
7.8 g/cm³ |
Grey-white |
Stamping and cutting |
Keychains, badges, bottle openers, luggage tags, bookmarks |
Lowest metal cost; rusts, so it needs plating or paint; over 4mm is hard to press |
|
Aluminum |
2.7 g/cm³ |
Silver-white |
Stamping and cutting |
Medals, luggage tags, bookmarks, coasters |
Lightest of the four; the only one that takes anodizing |
Table 2: Other materials
|
Material |
Products we run it on |
Forming |
|
Stainless steel |
Dog tags, bottle openers, keychains, bookmarks, luggage tags |
Stamping and etching |
|
Zinc-magnesium alloy |
3D fridge magnets |
Die casting and color spray |
|
Lead-tin alloy |
3D wine stoppers, sculpted charms |
Centrifugal casting (longest lead time of all our categories) |
|
Soft PVC |
Keychain charms, fridge magnets, PVC badges, luggage tags |
Injection molding |
|
Acrylic |
Medals, charms, fridge magnets, badge inserts |
Cutting, then UV print or lamination |
|
Wood |
Combined medals, coasters, bookmarks |
Laminated with a metal face |
|
Rubber |
Soft magnets, rubber clips, coasters |
Molding |
|
Crystal glass |
Trophies, commemorative pieces |
To be confirmed |
Beyond the four metals, we run the materials above. They do not need the same depth of explanation, but they are listed so you can confirm that the product you have in mind is one we take on. Twelve material families come through our lines, and the difference is the forming route. Metal parts run through die casting or stamping. Everything else runs through injection, cutting, lamination or molding.
The finishing sections below follow metal parts, because plating and enamel filling are lines that all metal products share. Finishing routes for the non-metal materials, which are UV printing, color spray and lamination, appear in the sections where they belong.
The Finishing Stack: Every Post-Casting Process
A die casting or a stamping is only a blank. What decides the look, the feel and the service life is the stack of processes that follows. We group them into six families. Each family changes a different thing, from the mechanical texture at the bottom to the printing and laser marking at the top.
Table 3: The six finishing families
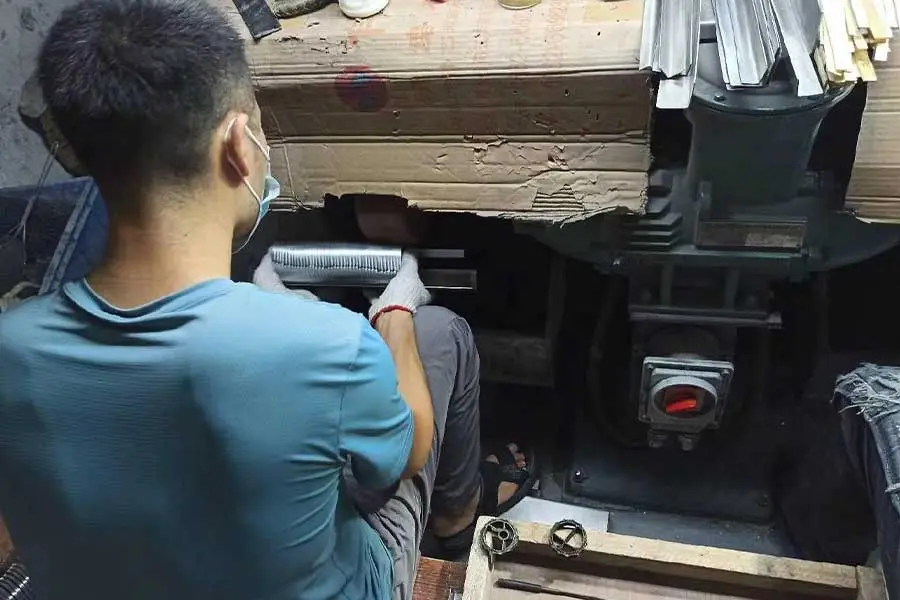
Texture and mechanical finishing
- What it changes:Roughness, edge feel, base sheen
- Options:Polishing, sandblasting, EDM texture, sprayed imitation sand
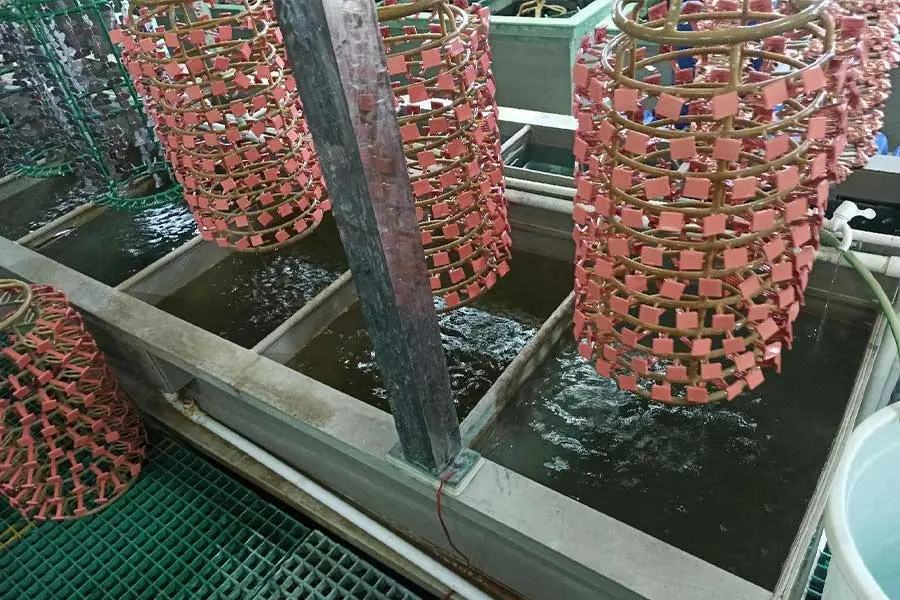
Plating
- What it changes:Color, gloss, tarnish and wear resistance
- Options:14 colors across four families, plus mirror plating and rainbow vacuum
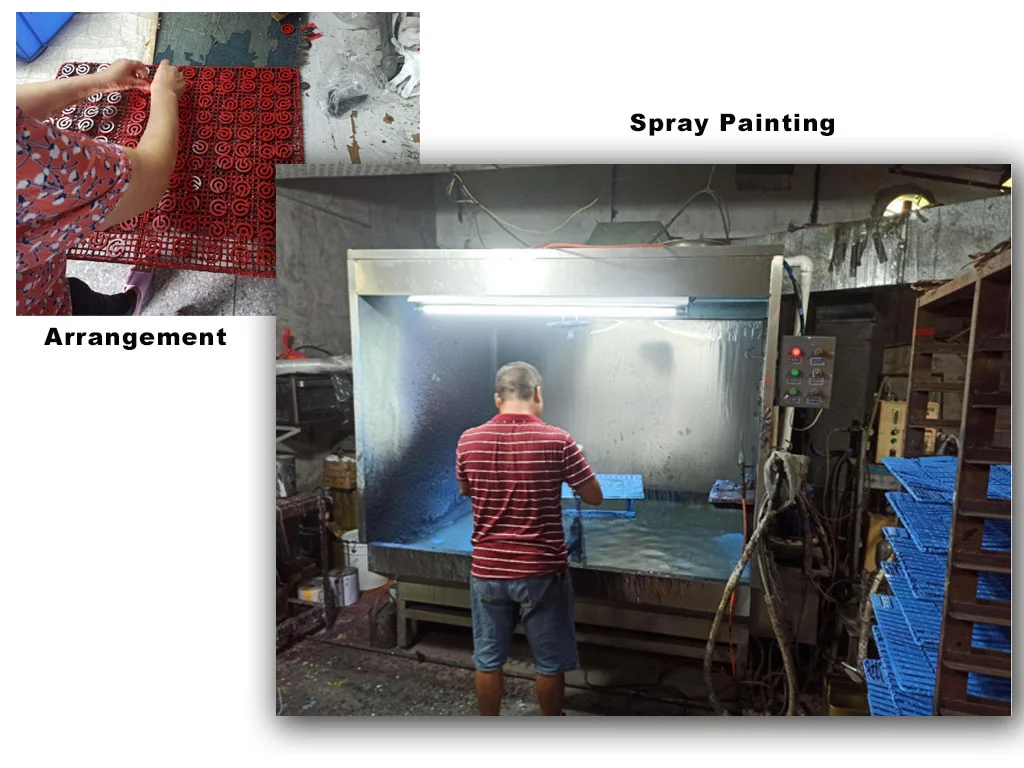
Non-metal coating
- What it changes:Color with no metallic sheen
- Options:Electrophoresis, color spray, anodizing, barrel plating
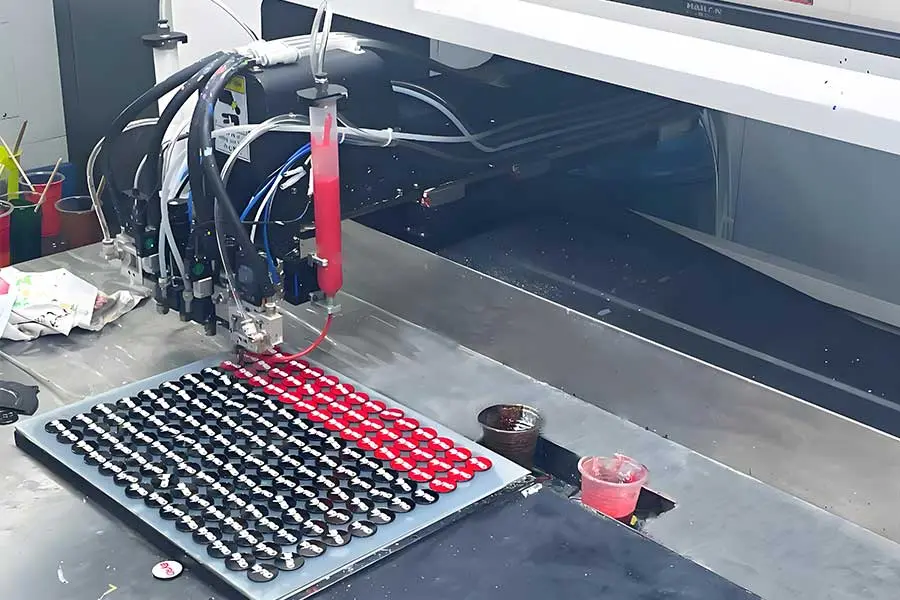
Enamel filling
- What it changes:Color inside the recesses
- Options:Soft enamel, imitation hard enamel, glass enamel, translucent enamel, glitter, glow paint
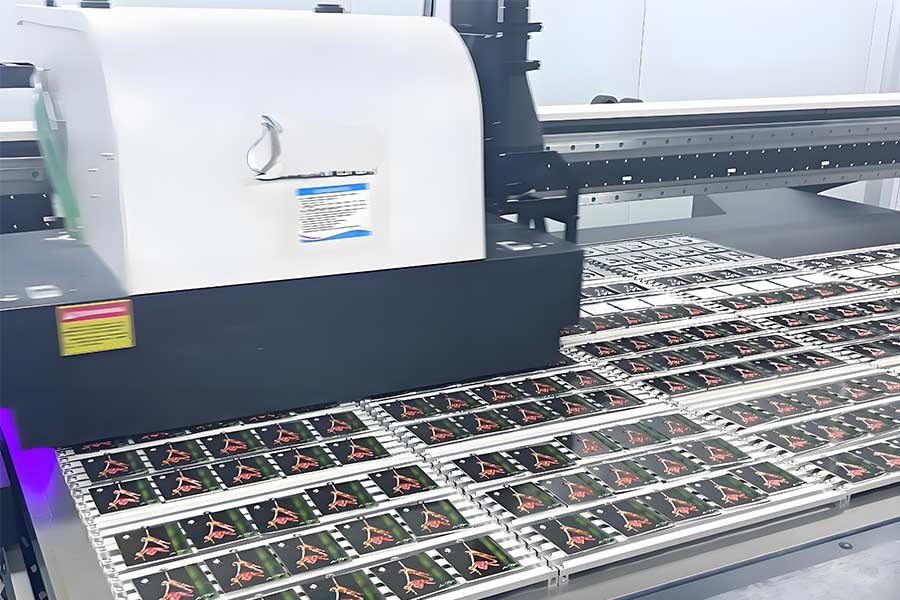
Printing
- What it changes:Gradients and photographic artwork
- Options:UV print, color porcelain, photodome sticker, offset, silkscreen
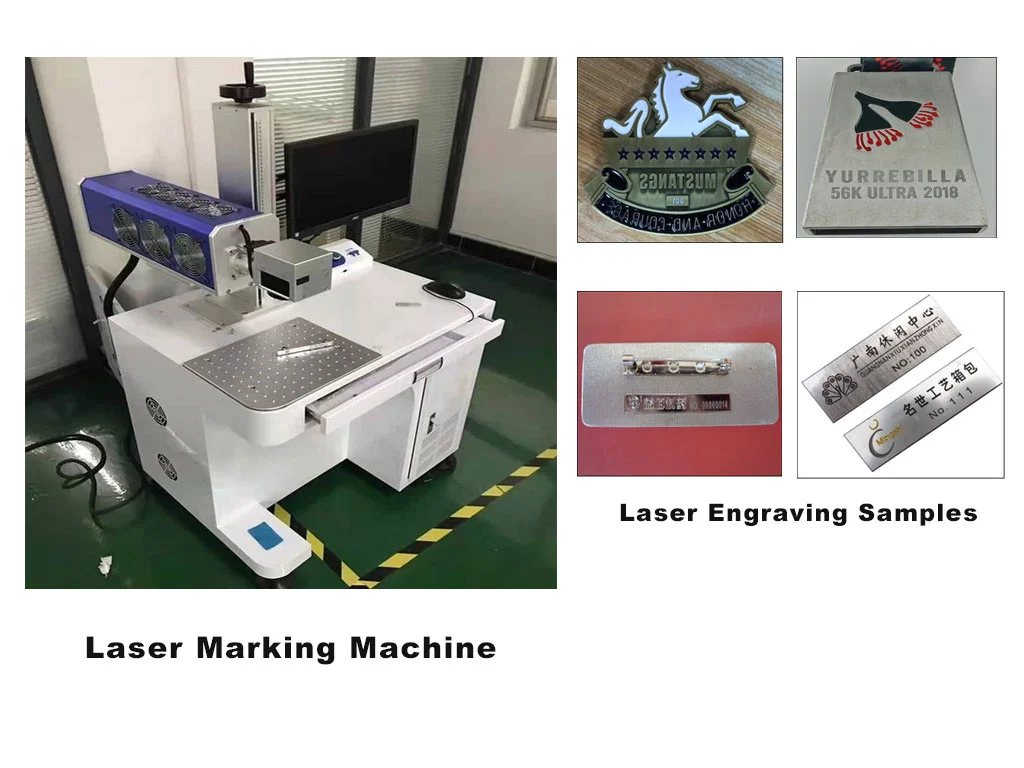
Laser engraving
- What it changes:Permanent marking on metal
- Options:Laser marking
These six families are a pool, not a checklist. A soft enamel pin usually runs polish, plate and fill. An anodized aluminum luggage tag may run only sandblast and anodize. An antique bronze coin runs polish, antique plating and a local highlight wipe. Selection means picking the few families your product needs and confirming they do not conflict.
Texture and Mechanical Finishing
This is the bottom family and the one buyers overlook most. Polishing is not only for looks. If the surface is not prepared, the plating layer will not grip, and it will lift after a period in use. What happens in this family decides whether the families above it hold.
Table 4: Texture and mechanical processes
|
Process |
How we run it |
Result |
Where it fits |
|
Polishing |
Wet bench polisher with taro wheel, sand belt, hemp wheel, nylon wheel and polishing wax; edges and faces run separately |
Smooth edge, even surface, and the adhesion base every plating job needs |
All metal parts, before plating |
|
Sandblasting |
Abrasive blasting ahead of plating |
Matte, even, satin sheen |
Large flat faces |
|
EDM texture |
Spark machine cuts discharge grain into the mold, levels 1 to 7, most jobs at level 3 or 5 |
Identical grain on every piece in the batch |
Matte finishes that need batch consistency; no extra charge |
|
Sprayed imitation sand |
Sprayed directly, or applied by syringe over a color area |
Matte softer than EDM, sitting inside the color |
Color fields that should not reflect |
Sandblasting and EDM texture are worth separating. Sandblasting is done on the finished part, so the feel varies slightly from piece to piece. EDM texture is cut into the mold, so every piece in the batch carries the identical grain. If your program needs batch consistency, specify EDM.
Plating: 14 Colors in Four Families
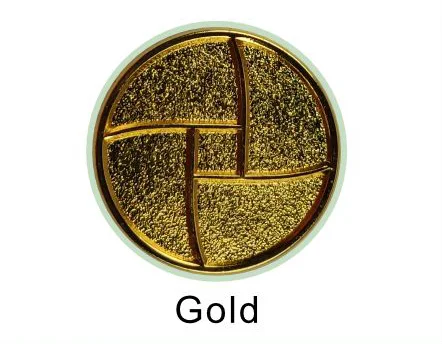
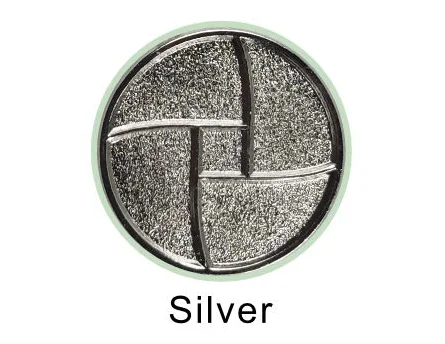
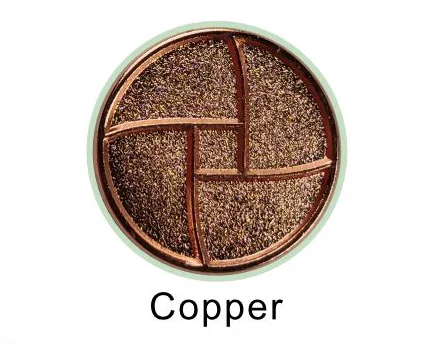
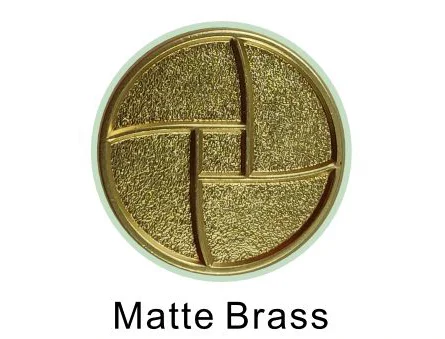
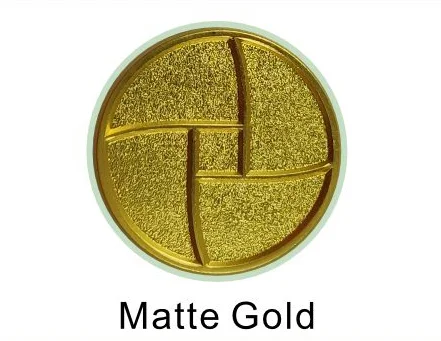
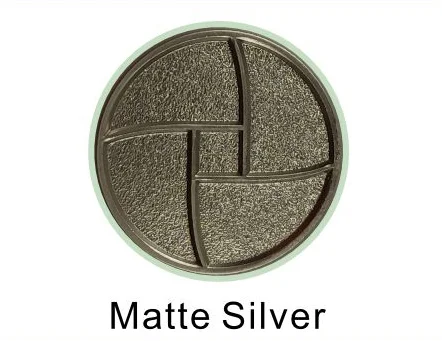
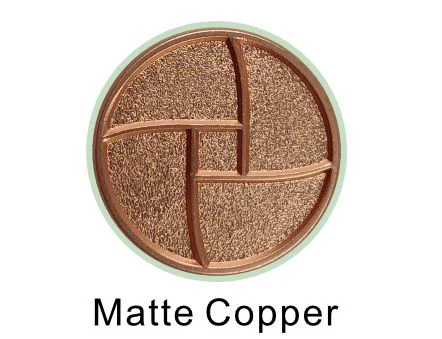
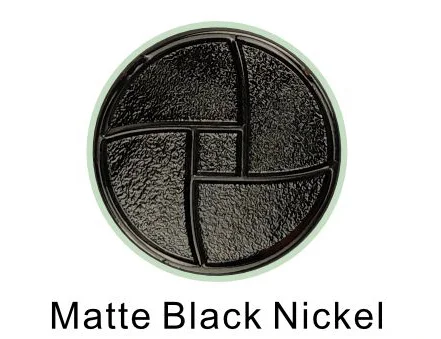
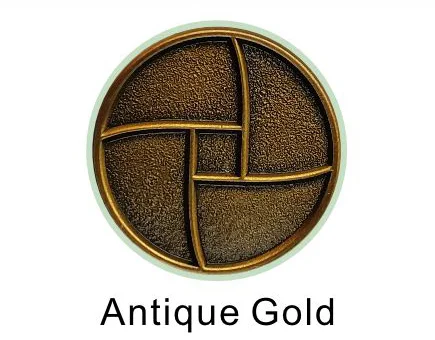
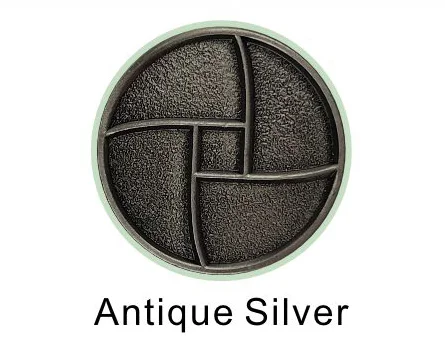
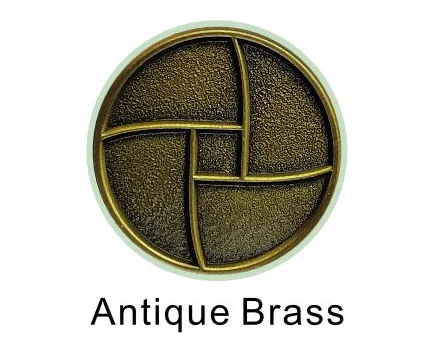
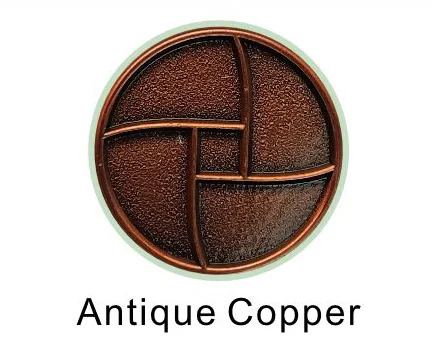
Plating is the largest section on this page because it supplies the final color for most metal gifts. Our 14 standard plating colors fall into four families. The difference between families is not only depth of shade but how the surface reflects light. Shiny tones reflect sharply. Matte tones stay soft. Antique tones keep dark in the recess and bright on the raised areas.
Shiny Finish
Matte Finish
Antique
Special effect
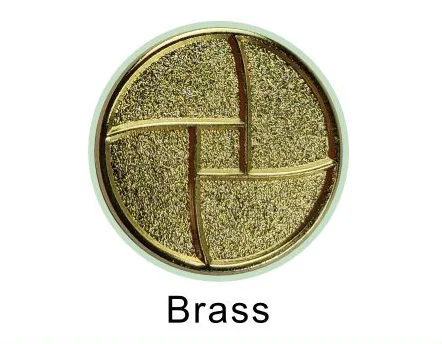
Table 5: 14 plating colors in four families
|
Family |
Colors |
Character |
Typical use |
|
Shiny |
Shiny gold, shiny silver (nickel), shiny copper, rose gold |
High gloss, sharp highlights |
Awards, pins and coins that should read as new metal |
|
Matte and pearl |
Matte gold (pearl gold), matte silver (pearl silver), matte copper, matte rose gold, black nickel (gun black), matte black |
Low reflection, soft |
Modern brand work, formal occasions, restrained packaging |
|
Antique |
Antique bronze (antique gold), antique tin (antique silver), antique copper |
Dark recesses, bright raised areas |
Military and commemorative coins, anniversary programs |
|
Special effect |
Rainbow (vacuum plating) |
Graduated rainbow, not a flat color |
Collector coins, limited editions |
Rules worth knowing before you specify:
Electrophoresis, Color Spray and Anodizing
Plating covers most requests, not all of them. When the color you need has no matching plating tone, or when you want a flat color with no metallic reflection at all, this family takes over. Its advantage is a wider color range at a lower cost than plating.
Table 6: Non-metal coating routes compared
|
Route |
Cost against plating |
Surface |
Color range |
Materials |
|
Plating |
Highest |
Metallic gloss, sharp reflection |
The 14 colors above |
All metals |
|
Electrophoresis |
Below plating |
Softer gloss, strong antique contrast |
Antique gold, antique bronze, antique copper, antique tin, matte black, gloss black |
All metals; matte black usually runs here |
|
Color spray |
Lowest |
No metallic gloss, flat matte |
Any Pantone shade |
All metals, wherever plating and electrophoresis cannot reach the color |
|
Anodizing |
Close to plating |
Colored with a metallic gloss |
Wide range |
Aluminum only |
|
Barrel plating |
Lowest |
Rough, uneven |
Single color only |
High-volume, lower-specification orders |

The electrophoresis route for antique color deserves one line. Parts are blackened first and swept afterward. Recesses the wheel cannot reach keep their black, and that is where the antique depth comes from. Matte black usually runs on this line rather than in a plating tank, because electrophoresis lays an even matte more easily.
Enamel Filling: Six Methods
Enamel filling puts color into the recesses of the metal. This is the section buyers mix up most. All six methods are called color filling, yet the process direction, the finished feel, the minimum width and the price all differ. The single most important point is that soft enamel and imitation hard enamel run in opposite directions.
Table 7: Six enamel filling methods
|
Method |
Consistency |
Process order |
Finished surface |
Minimum fill width |
Notes |
|
Soft enamel |
Thin, flows well |
Plate first, fill second |
Color sits below the metal lines with a slight dip; relief under the finger |
0.3mm |
The default for most pin and coin work |
|
Imitation hard enamel |
Thick |
Fill, polish, then plate (reverse order) |
Color level with the metal edge, flat to the touch |
0.5mm |
Fuller color; higher price and longer lead time |
|
Glass enamel, solid |
Thick, flows less than soft enamel |
Plate first, fill second |
Smooth, with a glass-like sheen |
0.5mm |
Higher curing temperature |
|
Translucent enamel |
Thick |
Plate first, fill second |
Semi-transparent, metal visible underneath |
0.5mm |
On cut-out areas the back must be taped with high-temperature tape, or color bleeds to the reverse |
|
Glitter |
Applied over soft enamel |
Scatter while the enamel is half dry, then bake fully |
Iridescent or single-color flakes |
— |
An epoxy (AP) top coat can be added over the surface |
|
Glow paint |
Applied over soft enamel |
Add after the enamel is fully cured |
Green glow in the dark |
— |
The glow tone is always greenish |
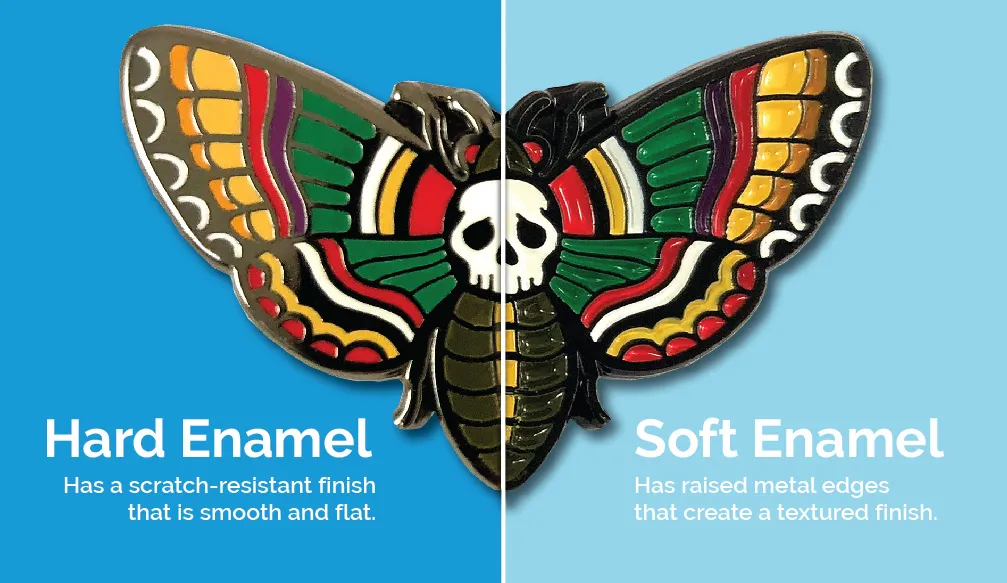
The difference between soft and imitation hard enamel is the direction of the process. Soft enamel is plated first and filled second. Color stays in the recess, the metal lines stand proud, and your finger finds the relief. Imitation hard enamel is filled first, polished, then plated. Metal and color finish on one plane, the surface is flat, the color reads fuller, and both price and lead time move up. Which one you want changes the quote and the schedule, so settle it before the order.
Two options stack on top of the fill. You can spray imitation sand over a color area for a matte softer than EDM. You can also seal a finished fill or print with an epoxy top coat, which is common over glitter. We confirm color numbers with you in writing before filling starts, and the inspection points around that sit on our quality control page.
Printing and Laser Engraving
Enamel filling handles color blocks. Printing handles gradients and photographic artwork. The five printing methods are not interchangeable. A wrong choice does not lower the quality slightly, it makes the artwork impossible to run. Two questions settle it: does your artwork need a gradient, and is the surface flat or in 3D relief.
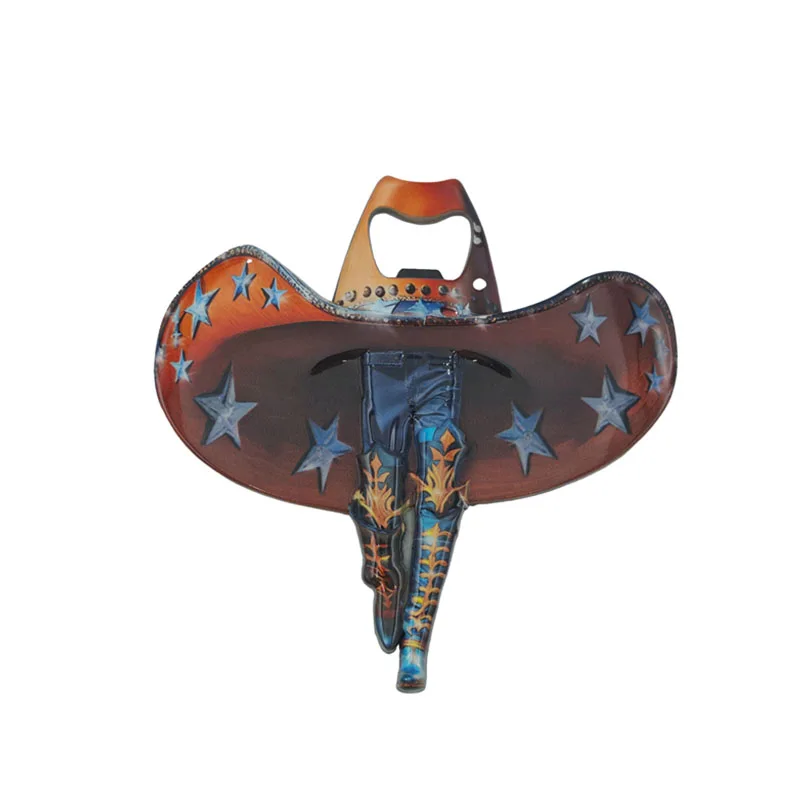
UV printing carries one hard limit. It can print onto a 3D surface, but the height difference has to stay within 7mm. Beyond that the print head cannot hold focus and the image goes soft.
Laser engraving is the sixth marking method and uses no ink. A laser burns the pattern into the metal. The mark is permanent and does not fade, which suits serial numbers, anniversary dates and personal names.
Table 8: Five printing methods
|
Method |
Flat or 3D |
Base requirement |
Detail |
Gradients |
Cost |
Durability note |
|
UV printing |
Flat and 3D |
Direct on metal, or onto a painted surface |
Four-color; very fine artwork may blur |
Yes |
Low setup cost |
Slight grain on the surface; registration is not exact |
|
Color porcelain |
Flat only |
Needs a solid glass enamel or imitation hard enamel base |
Four-color |
Yes |
Low setup cost |
Reads slightly faded |
|
Photodome sticker |
Flat only |
Needs a metal border for registration |
Fine print quality |
Yes |
Low unit cost, plus a plate fee |
Edges lift and the paper yellows over time |
|
Offset printing |
Flat only |
Direct onto sheet metal, usually sealed with epoxy; can be laminated to zinc alloy |
High print quality |
Yes |
Above sticker, plus a plate fee |
Strongest on iron, aluminum and brass sheet |
|
Silkscreen |
Flat only |
Direct on metal |
Very fine detail, tightest registration |
No (spot color only) |
Priced by color count, plus a screen fee |
Cost rises with each added color |
Combination Rules: What Works and What to Avoid
This is the table to read first. Every section above covers a single option, but a real project always combines several processes on one product, and almost every problem comes from the combination rather than from an individual process. These rules come from reject rates on our own line.
Table 9: Combination rules
|
Combination |
Verdict |
Reason |
|
Shiny and antique on one piece |
Not advised |
High reject rate; the two reflective behaviors fight each other and the wipe is hard to control at the boundary |
|
Shiny with shiny (gold with nickel) |
Works |
The most common two-tone combination on our line |
|
Antique with antique |
Works |
Consistent depth of contrast, easy to control |
|
Plating then color spray |
Works |
Plate the base, then spray the large color field |
|
Translucent enamel over a cut-out |
Needs special handling |
The back must be taped with high-temperature tape, or color bleeds to the reverse |
|
Barrel plating with multi-color fill |
Not advised |
The rough surface will not hold a clean color boundary |
|
Mirror plating |
Brass and iron only |
Plated first and stamped after; zinc alloy cannot take it |
|
Soft enamel below 0.3mm fill width |
Not manufacturable |
The fill channel is too narrow to hold color |
|
Imitation hard enamel below 0.5mm fill width |
Not manufacturable |
Polishing would cut through the color |
|
Photodome sticker in long-term outdoor use |
Plan a replacement cycle |
Edges lift and the paper yellows; offset printing with epoxy lasts longer |
|
UV printing over deep relief |
Keep within 7mm |
Beyond that the print head cannot hold focus |
Far more combinations work than fail. A small number of conflicts will take a whole batch down, though. Send us your design and we will flag any conflict before we quote.
Choosing Materials and Finishes for Your Program
Everything above is a menu. This section is the selection. The table works backward from the type of program. If yours is not listed, send us the use, the quantity, the budget and the target date, and we will advise.
Table 10: Material and finish selection by program type
|
Program type |
Material |
Finish |
Why |
|
Road race or marathon medals |
Zinc alloy or brass |
Antique gold or shiny gold, with soft or imitation hard enamel |
Medals carry ceremony; antique gold gives depth, and imitation hard enamel keeps large color fields flat |
|
Military or unit challenge coins |
Brass |
Antique bronze or antique copper, two-tone with a shiny edge |
Antique tones hold dark in the recess, which reads as relief |
|
Staff or club lapel pins |
Zinc alloy |
Shiny gold or shiny silver, with soft enamel |
Clean and direct, at a favorable combination of cost and lead time |
|
High-volume budget keychains |
Iron or soft PVC |
Barrel plating or color spray |
Iron carries the lowest metal cost, and barrel plating cuts the price further at volume |
|
Lightweight luggage tags or bookmarks |
Aluminum or stainless steel |
Anodizing, polishing or laser |
Aluminum is the lightest option and takes anodized color; stainless steel resists scratching |
|
Retail fridge magnets |
Soft PVC, zinc-magnesium alloy or acrylic |
Color spray or UV printing |
Soft PVC and zinc-magnesium alloy hold sculpted shapes; acrylic costs less per piece than zinc alloy |
|
Awards and commemorative pieces |
Crystal glass or brass |
Polishing with laser engraving |
Needs transparency or weight, and a mark that stays |
|
Natural or eco brief |
Wood with a metal face |
Polishing with laser engraving |
A laminated structure delivers both the texture and the theme |
Materials and Finishes FAQ
Start Your Order
Send us your artwork, your material requirements and your target quantity. We do two things first: confirm that the material and finish combination does not conflict, and return a quotation with a sampling plan. With complete information, a detailed quote goes out within 12 hours.