Home – Custom Lapel Pins – Custom Die Struck Lapel Pins
DIE STRUCK LAPEL PINS
Custom Die Struck Lapel Pins: Bare Metal, Antique, Enamel or UV
Die struck lapel pins are stamped from sheet brass, copper or iron, so the raised face comes out of the metal itself, polished on top and recessed below. What goes into that recess decides the look: bare metal, a dark antique wash, enamel fill or UV print. We cut the die, strike, trim, plate and polish in our own factory, from 100 pieces per design, with free artwork and a proof before tooling opens. Samples ship in 7-10 days, bulk orders in 15-18 days. These pins sit inside the custom lapel pins range we make for distributors, event companies and corporate buyers.
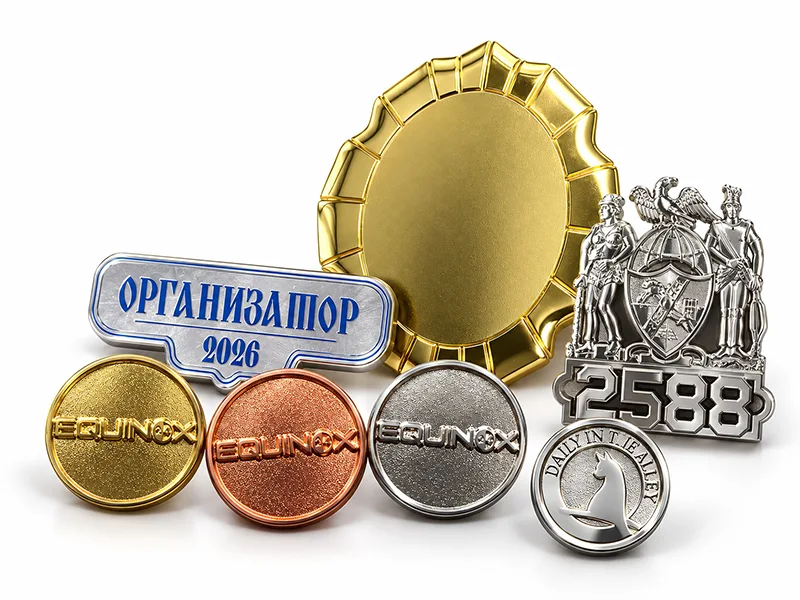
Die struck pins, side-lit: the raised face catches the light, the recess stays dark.
Since 2010
Focused on custom pins
30,000+ pcs a day
In-house production
MOQ 100 pcs
Start your project easily
Bulk 15-18 days
Counted from approval
1. How a Die Struck Pin Is Made: Die, Strike, Trim, Plate
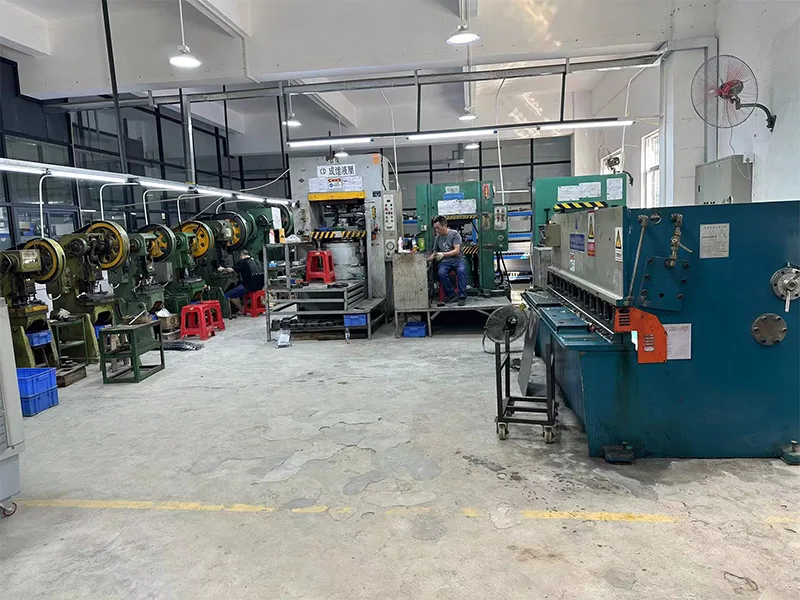
A die struck lapel pin starts as a sheet of metal and ends as a small piece of raised and recessed surface. Four steps get it there.
The dies
Your artwork is cut into steel. There are two dies, not one: the design die presses the artwork into the face, the trim die cuts the outline.
The strike
A blank of brass, copper or iron goes under the press. It is rarely one hit; the die steps down in passes. What comes out is a shallow relief with near-vertical walls.
The trim
The trim die cuts the shape. Any custom outline, any cut-out, is finished here.
Plating and finish
Gold, silver, copper, brass, black nickel, matte and antique finishes go on at this stage, before anything enters the recess.
Why stamped relief stays shallow. The blank is only 1.5-2.0 mm thick. The relief is metal pushed out of that thickness, so the deeper it goes, the more the back bulges and the more likely the edge splits. Stamping buys you shallow and crisp. It does not buy you tall and dimensional – that is die casting.
Related: custom lapel pins | die stamping
2. Die Struck vs Die Cast: Which One Your Artwork Actually Needs
The two words get used as if they mean the same thing. They do not. Die striking presses a shallow relief into sheet metal. Die casting injects molten zinc alloy into a closed mold and lets it cool. Casting can build real height; stamping can build one shallow layer of high and low.
Die struck
Shallow relief, near-vertical walls
Sheet metal: brass, copper or iron
Lower tooling, lower unit price
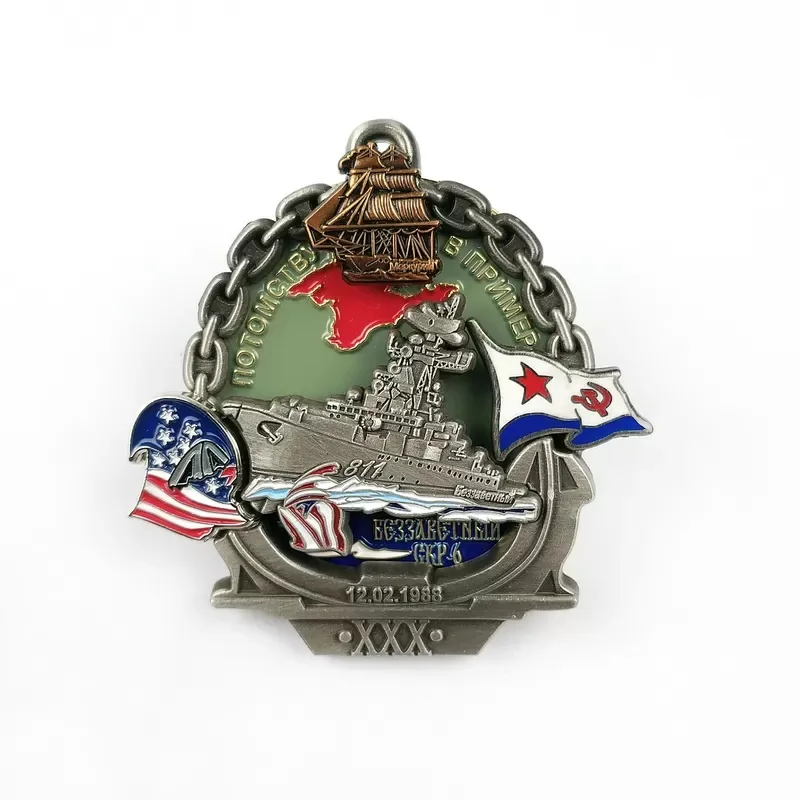
Die cast
Multiple levels, rounded transitions
Molten zinc alloy in a closed mold
Height front to back; cut-through openings
Here is the decision, in the form a buyer can actually use:
|
If your artwork looks like this |
Go with |
Why |
|---|---|---|
|
A flat emblem, shield, round seal, initials or a short line of text |
Die struck |
Shallow relief is enough; lower tooling, lower unit price |
|
A mascot with rounded forms, stacked layers, or a sculpted silhouette |
Die cast |
Stamping cannot produce a curved transition |
|
Different heights front to back, or a cut-through opening |
Die cast |
Stamping cuts the outline only; it cannot open a hole through the body |
|
A crest, chapter seal or service-year pin |
Die struck |
These designs are lines and lettering, not volume |
|
Large and light – 60 mm and up, weight-sensitive |
Die struck |
A cast piece that size gets heavy and expensive |
What the difference costs. At the same size, quantity and plating, a die struck pin costs roughly 37% less than its die cast equivalent, and the gap widens as volume grows. The saving sits in tooling and material: casting needs a heavier mold, more zinc alloy and a longer cycle to cover the same face area.
What changing your mind costs. Moving a design from stamping to casting is not a menu selection. The design die is remade, the trim die is remade, the artwork is redrawn to a new relief structure, and a new sample is struck. Whatever sample you already approved is dead. Twenty minutes spent deciding the process before tooling opens is the cheapest part of the whole project. If you already hold a quote from another supplier, send it over – the one thing we will tell you is whether the process they picked is the right one.
Related: die casting
3. What Goes Into the Recess: Bare Metal, Antique, UV or Enamel
The raised face of a stamped pin is finished the same way every time – polished, or left matte. What decides how the pin looks is what goes into the recess. There are four answers, listed here from least to most expensive.
bare < antique < UV < enamel
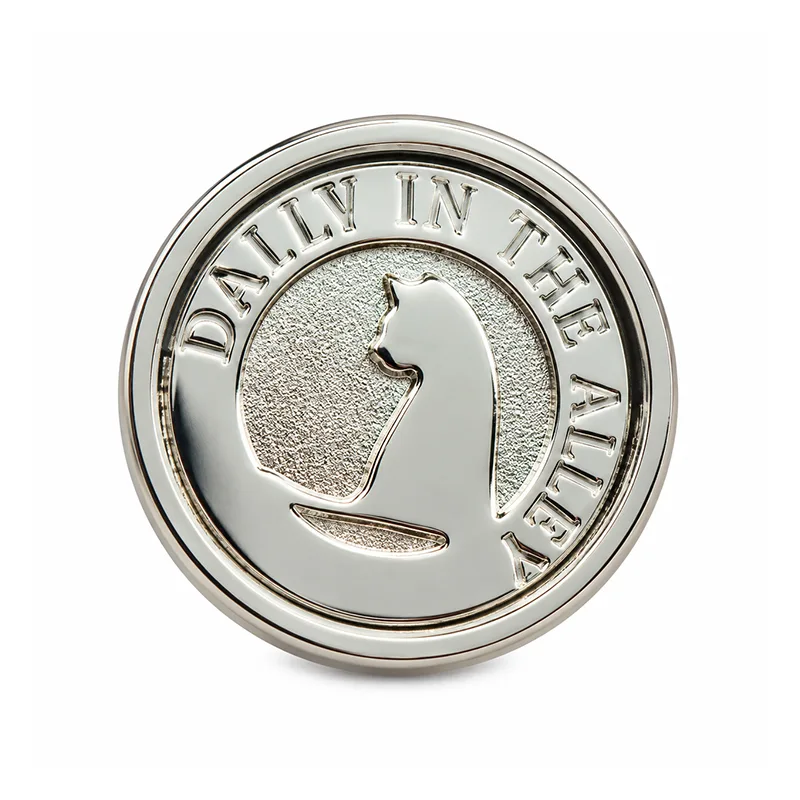
Nothing (bare metal)
One colour across the whole pin; shape and shine carry it.
Cost: Lowest cost
Wear: Highest wear – all metal, no coating to wear
Best for: Minimal logos, initials, single-word emblems
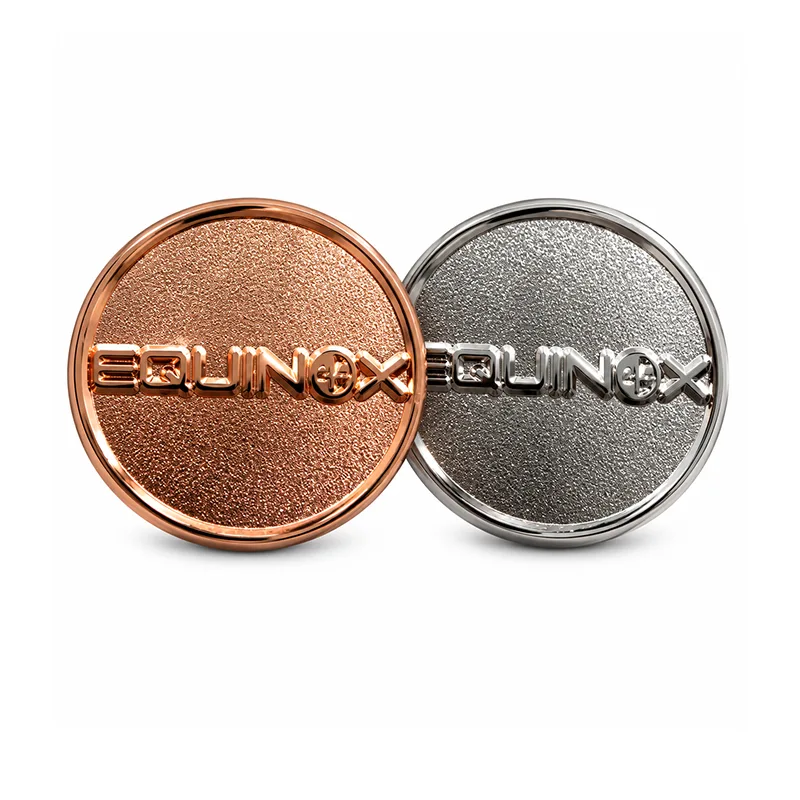
Antique solution, left dark
Bright raised face, dark recess; lettering and borders lift themselves out.
Cost: Low – one plating tier up
Wear: High – still metal, only a tonal difference
Best for: Heavy lettering, borders, crests, city seals
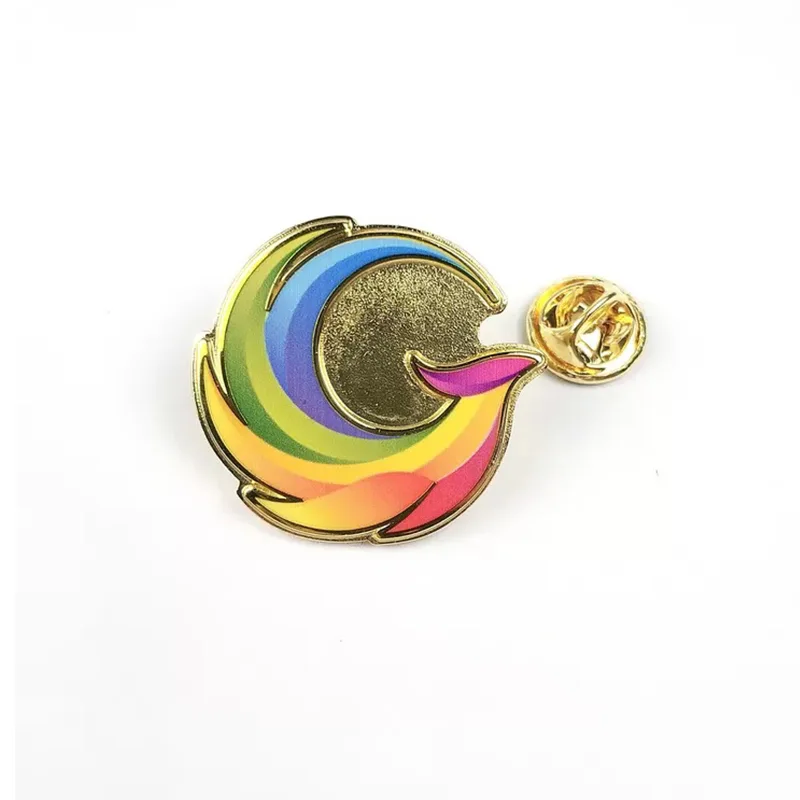
UV print
Full colour, gradients, photographic detail.
Cost: Medium
Wear: Medium – the dome layer scratches
Best for: Dense detail, gradients, photos, short runs

Soft enamel fill
Colour sits in the recess; metal lines stand proud and can be felt.
Cost: Highest – priced by colour count, filled by hand
Wear: Medium – the paint wears over years
Best for: Brand colours, heavier lines, metal separators
The one ordering most buyers get wrong is 3 and 4. UV costs less than enamel, because UV is a single print priced by area while enamel is filled colour by colour, by hand. If your artwork carries five or six colours, UV will usually come out cheaper. If it carries two or three and you want solid, tactile colour, enamel is the better answer. Most factories will not volunteer this, because most factories only run one of the two.
So is a “die struck enamel pin” still die struck? Yes. Stamping is how the pin is formed; enamel is how it is coloured. Almost every soft enamel pin on the market started as a stamped blank. On this page enamel is route 4, not a separate product. If you want the enamel detail – soft versus imitation hard, the grinding and second plating pass – that lives on enamel lapel pins. If you want the ceiling on UV detail, that lives on printed lapel pins.
4. Two-Tone Without Color: Polished Raised Faces, Antique Recesses
The question buyers ask most often is whether a pin with no colour will look like a flat piece of metal. It will not, provided the contrast is built correctly: how deep the recess is, multiplied by how bright the plating is.
Contrast = recess depth x plating brightness
The raised face is polished, so light hits it and comes straight back. The recess is darkened with an antique solution, so light falls in and does not return. One bright, one dark – lettering, borders and stars lift off the surface. That is not an added effect. It is the only modelling language a no-colour pin has.
Three ways this goes wrong. We would rather say them up front.
One: dark plating eats the contrast
The recess is already dark. Choose black nickel, black metal or a heavily antiqued copper on top of that, and the low areas go darker while the high areas stop reading as bright. The pin turns into one grey mass. If lettering carries the design, choose bright silver, bright gold or bright copper with an antique recess.
Two: a shallow recess will not hold the antique
Press it too shallow and the solution has nothing to grip. It wipes away, and what is left is barely a tone. Relief depth is not a process detail; it is the precondition for the effect.
Three: over-wiping
Antique finishing means dipping the whole pin and then wiping the raised face clean. Wipe too little and the highlights go dull. Wipe too much and you take the dark out of the recess as well, and the contrast fades. It is checked before packing, every batch.
Related: plating options
5. Will Your Artwork Strike? The Limits We Check Before Quoting
Before we quote, we check one thing: whether the artwork can be struck at all. A price on an image that will not strike is a price on nothing.
|
Item |
Limit |
What happens below it |
|---|---|---|
|
Raised or recessed metal line width |
0.2 mm |
Lines break or fuse; the gaps inside letters close up |
|
Width of a recess intended for enamel |
0.3 mm |
Colour will not enter, or it bleeds into the neighbouring area |
|
Smallest cut-through opening |
2 mm |
The wall crumbles or distorts (larger still above 2.5 mm stock) |
|
Smallest legible letter height |
about 1.5 mm |
Counters close; e, a and s stop being readable |
|
Relief depth |
about one third to one half of stock thickness |
The back bulges, the edge splits, the metal thins through |
|
Outline tolerance |
±0.25 mm |
Multi-part assemblies will not sit square |
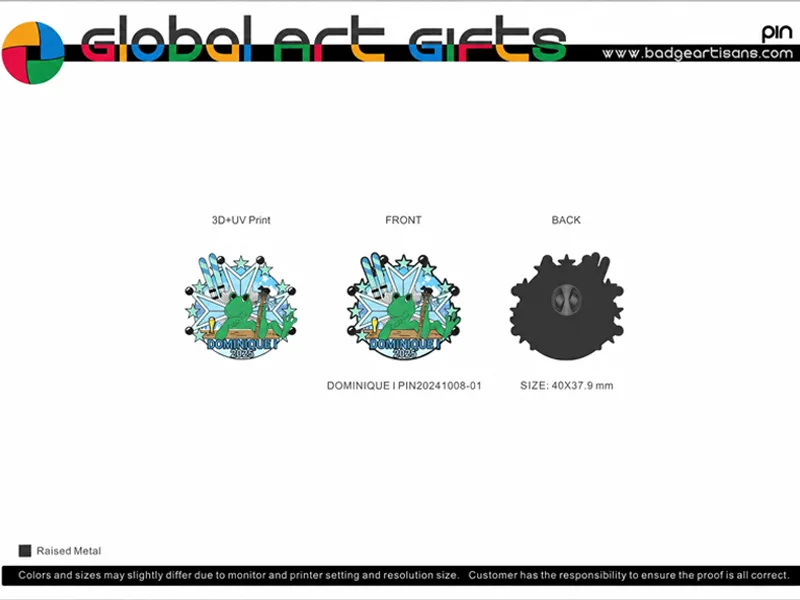
Line width and letter height at finished size decide whether the artwork strikes cleanly.
Not sure which process your artwork needs?
Send the file and the size. We will tell you whether it strikes, whether the recess should be bare, antique, UV or enamel, and what that does to the price – before you spend anything on tooling.
One counter-intuitive fact: shrinking is harder than enlarging. The same artwork that reads cleanly at 25 mm turns into a smudge at 12 mm, because line width does not scale in proportion. Halve the size and the line halves with it, and it drops below 0.2 mm fast. Do not assume that because the 25 mm version looked good, the 12 mm version will.
How to use the table. Run your artwork against it. If the finest line is already near 0.2 mm, we will suggest going up in size rather than forcing it – because 0.2 mm is the width that survives the press, not the width that looks good. The same applies to text: a line of 1.2 mm letters on a 15 mm pin will close up. Cut it to two words, or move the pin to 20 mm.
These figures are industry standard values, quoted at the conservative end. If your artwork lands right on a limit, send it. When we prepare the proof you get two versions: one that strikes as drawn, and one with a small change that will look better. You choose.
Related: artwork requirements
6. Die Struck Lapel Pin Specs: Size, Thickness, Material, Plating and Backing
These are our standard ranges. Final parameters are confirmed against your artwork, budget and use – odd shapes and large sizes are set by what will actually fit the sheet.
|
Parameter |
Standard range |
|---|---|
|
Size |
12-75 mm (0.47-2.95″); commonly 20-40 mm (0.79-1.57″); custom shapes measured on the longest side |
|
Thickness |
1.5-2.0 mm, 2.0 mm standard |
|
Material |
Brass, copper, iron (stainless steel and aluminium by order) |
|
Plating |
Shiny gold, shiny silver, shiny copper, brass tone, black nickel, matte gold, matte silver, matte black, antique gold, antique silver, antique copper, antique brass |
|
Recess treatment |
Bare / antique-darkened / UV print / soft enamel fill |
|
Backing |
Butterfly clutch, rubber clutch, safety pin, magnet, deluxe clutch, brooch pin, tie tack |
|
Back |
Plain, or engraved (added cost) |
Why there is no zinc alloy in the list. Zinc alloy is the material for die casting. Stamping runs on sheet stock. Those are two production lines, not two options on one line – see section 2.
7. Die Struck Lapel Pins We Have Produced
The pins below are lapel-scale stamping projects. Each one carries its size, material, plating and recess treatment – because looking similar is not enough. You need to know how it was made before you can judge whether it applies to your project.
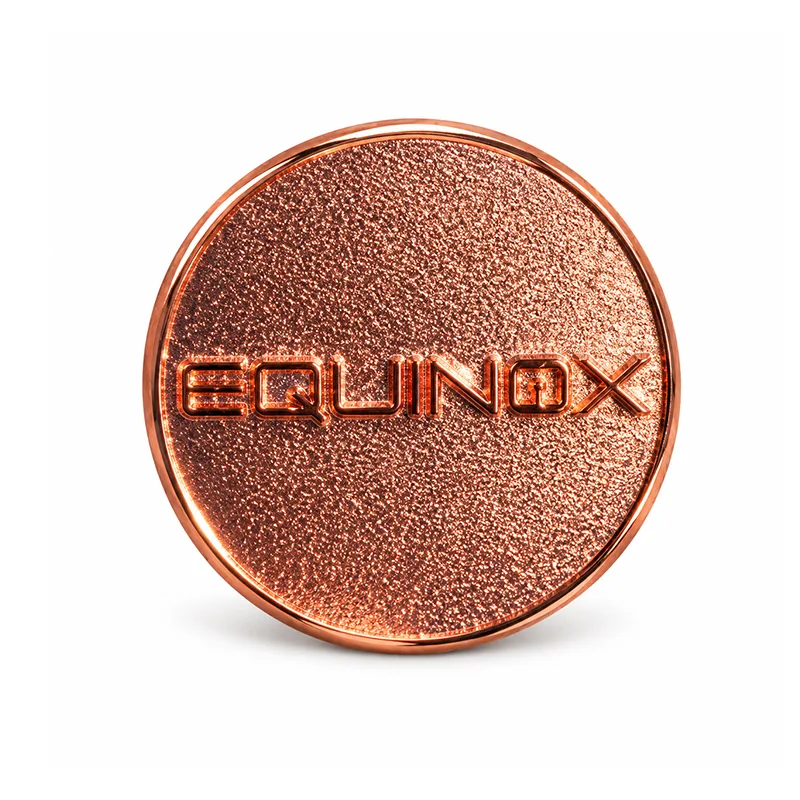
EQUINOX 24
Event / brand commemorative
Project: EQUINOX 24
Category: Event / brand commemorative
Material: Copper
Plating: Copper
Recess: 0.3~0.4mm
Size: Ø25mm
ZENODI
Corporate identity
Project: ZENODI
Category: Corporate identity
Material: Iron
Plating: Silver
Recess: 0.4~0.5mm
Size: Ø32mm
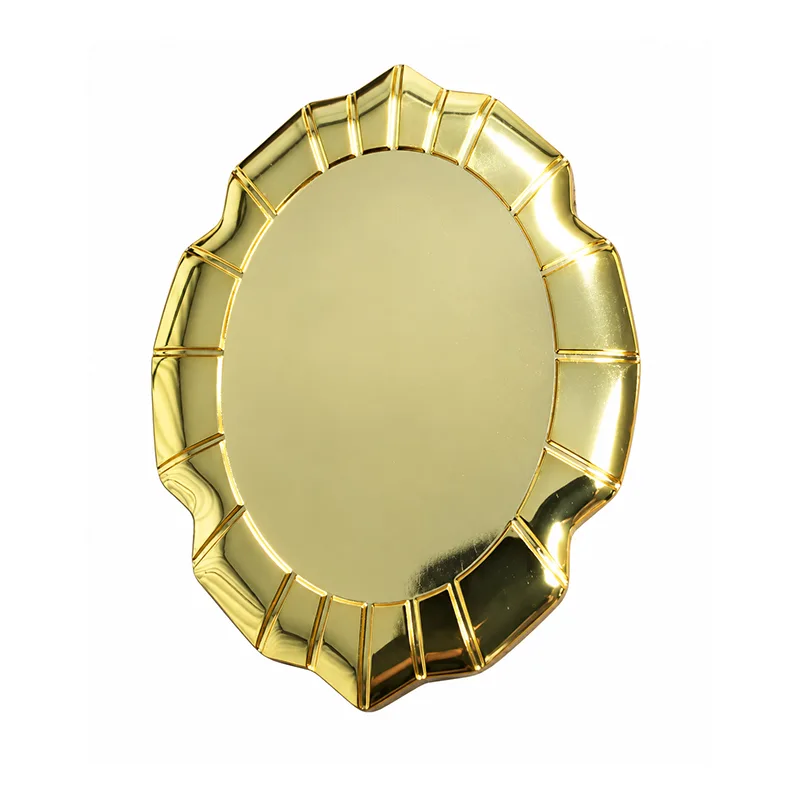
OPHOP
Corporate identity
Project: OPHOP
Category: Corporate identity
Material: Brass
Plating: Gold
Recess: 0.2~0.4mm
Size: 38mm (longest side)
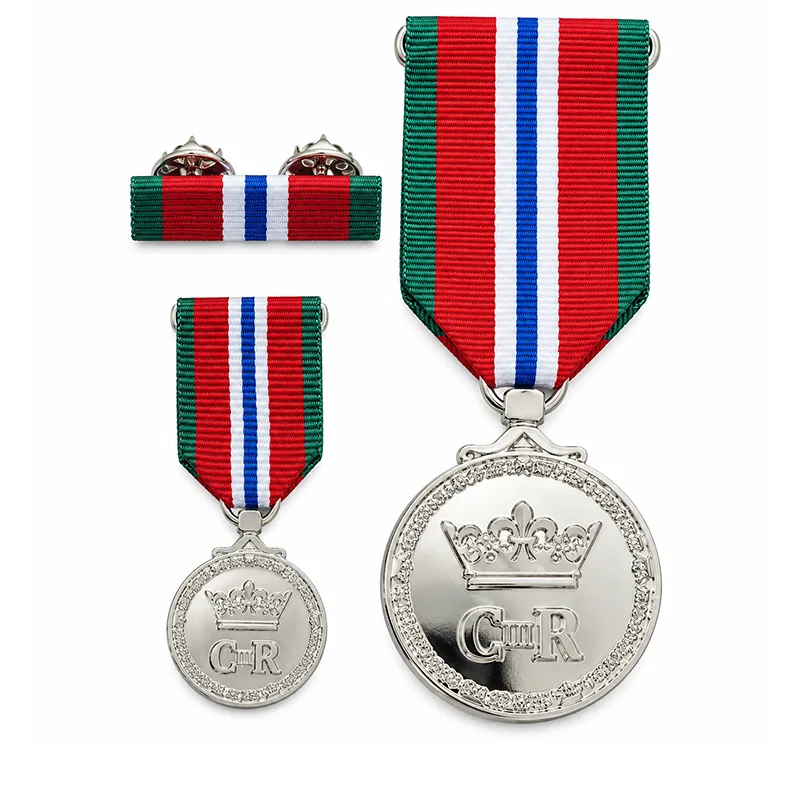
CMR
Commemoration / recognition
Project: CMR
Category: Commemoration / recognition
Material: Stainless Steel
Plating: Silver
Recess:0.35~0.4mm
Size: 35mm (longest side)
Why there are no police or school badges in this section. Those are stamped too, but they represent institutional identity and run larger. They belong to our custom badge line, at custom badges, where the difference between a badge and a lapel pin gets its own section. This page shows lapel-scale work only.
Build note: the four parameter sets are pending physical sample verification. They will be replaced with confirmed values before this page is published.
8. Where Die Struck Lapel Pins Are Used
One boundary first. This page covers lapel-scale pins. If what you need is an institutional identity piece at a larger size – a police badge, a school crest, a full shield – that is a different line, at custom badges. The process can be identical. The product form and the use case are not.
▶ Service and retirement. Five, ten, twenty, thirty years. These are almost always two-tone or bare metal, because they have to read as an award rather than a giveaway. The year changes every cycle, and a year change means a die change. For a program that runs annually, put the year on a back engraving or a separate small plate and leave the face alone.
▶ Associations and member bodies. Member pins, board pins, certification pins. The pattern is stable, the batches repeat, and each order is small – tooling amortisation dominates, which makes stamping the better value than enamel.
▶ Corporate identity. A logo on a lapel, worn by management, sales and trade-show teams. A coloured pin fights the suit or the uniform; a bare metal one never does.
▶ Events and commemorations. Anniversaries, openings, groundbreakings, annual meetings. Usually wanted fast, in modest quantity, with a year or a venue baked into the design – the natural home of stamping with an antique two-tone finish.
▶ Gifts and VIP pieces. Small runs, often a few dozen, where the requirement is weight in the hand rather than colour on the face. Antique gold and antique silver are the usual choices.
Police, fire, corrections and security uniform insignia are handled at custom badges; this page does not cover that product form.
9. What We Check Before Packing Die Struck Pins
Stamped pins fail differently from enamel pins. These are the five checks that matter, and each one traces back to a limit in section 5.
|
Check |
What we look for |
Traces to |
|---|---|---|
|
Edge burr |
Rolled or burred edges along the trim line |
Trim die wear – dies are serviced on a strike count |
|
Plating in the recess |
Bare metal or skipped plating at the bottom of the low areas |
Current distribution down a 0.2 mm channel |
|
Antique consistency |
Batch-to-batch tone match; dull highlights (under-wiped) or washed-out recesses (over-wiped) |
The contrast mechanics in section 4 |
|
Fill registration |
Bleed or misalignment on enamel or UV |
The 0.3 mm recess width |
|
Backing security |
Loose or off-centre attachment |
Assembly |
Every piece is inspected before packing, and we can send photographs or video for approval. Our systems are described at quality control and certifications.
Each pin is inspected before packing.
10. What Drives the Price of a Die Struck Pin
The basis for everything below: 2.0 mm standard thickness, single sided, from 100 pieces, excluding tooling and freight. Below that quantity, above standard size, double sided, or with cut-outs, the numbers are worked out individually.
Indicative unit prices, 100-500 pieces
|
Pin size (longest side) |
In inches |
Unit price, 100-500 pcs |
|---|---|---|
|
12.7 mm |
0.5″ |
$1.64 |
|
19.05 mm |
0.75″ |
$1.75 |
|
25.4 mm |
1″ |
$1.82 |
|
31.75 mm |
1.25″ |
$1.91 |
Indicative, not a quote. One unit price per pin, the same from 100 to 500 pieces; above that, the price is worked out per design. Figures are calculated on 1.5 mm stock with a single-sided enamel fill and standard plating, excluding tooling and freight. The 2.0 mm standard, larger sizes, double sided, cut-outs and higher-tier plating all move the number.
Five variables, in order of impact.
Size. Priced on the longest side; odd shapes on the bounding rectangle. Size moves material and tooling cost at the same time, so a large pin is not simply “a bit more metal.”
Quantity. Tooling is fixed. Spread across the run, it thins out fast – the gap between 100 and 1,000 pieces comes mostly from here, not from material.
Recess route. bare < antique < UV < enamel. Take the same 1 inch pin at 100 pieces and move the recess from bare to a three-colour enamel fill, and the unit price climbs noticeably. Move it to UV instead, and it climbs less. If your artwork is colour-heavy, ask about UV before you commit.
Plating. Shiny gold, silver and copper sit in the standard tier. Antique, matte and black nickel are an added tier. Antique is not decoration – it is how two-tone is built (section 4). Decide it together with whether you want two-tone at all.
Finishing. Backing type (magnet, deluxe clutch and tie tack cost extra), back engraving, and packaging – backing cards, velvet pouches, velvet boxes, acrylic cases. See packaging options.
Why this is a band, not a quote. Two pins that look identical on paper – 0.75 inch, 100 pieces – can land 80% apart once thickness, recess treatment, plating and whether tooling is included are counted, and none of those shows in a headline number. Use the table to set a budget, and the five variables to explain the gap between it and the number you get back.
LEAD TIME & TOOLING
11. MOQ, Lead Time and Tooling
Four numbers cover most of what buyers need to plan a run. The tooling note at the end of this section is specific to stamping.
✓ Minimum order. 100 pieces per design. Different plating and different backings on the same design count as one design and can be combined.
✓ Sampling. 7-10 days. The sample can be a digital proof, photographs, video, or a physical piece sent to you.
✓ Bulk production. 15-18 days from written approval of the pre-production sample and receipt of the deposit. Rush orders run as fast as 7 days where tooling exists.
✓ Tooling. Kept for 3 years. At 10,000 cumulative pieces for the same design, the tooling charge is refunded. Repeat orders count toward the total.
One thing specific to stamping: there are two dies.
The design die presses the artwork; the trim die cuts the outline. Changing plating or recess treatment costs nothing in tooling. Changing the outline – even turning a sharp corner into a rounded one – means a new trim die. If the shape is still in play, settle it before the tooling is opened.
12. Frequently Asked Questions
Terminology
Process and artwork
Price and lead time
Start Your Die Struck Pin Project
Send the artwork, the size and what the pin is for. You get a quote and a free proof back – and if the design belongs in casting rather than stamping, we will tell you before you spend anything on tooling.
1. Send your artwork or your idea. A sketch, a logo file or a photograph of an existing pin all work.
2. Quote and free proof. We confirm the process, the recess treatment and the plating, then send a proof to sign off.
3. Sample, approval, production. Pre-production sample in 7-10 days; bulk in 15-18 days from written approval.
